 —
—
Today’s post is a little different–no illustrated quote today.
Edgar’s 5th birthday is this weekend! We are using his birthday as an excuse to give the sibling room a makeover. Edgar (4, still 4) and Sabrina (3) have been sharing a room since she was a few weeks old. I know it won’t work forever, but for now, it works.
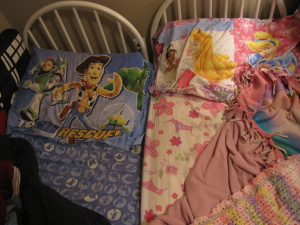
For the past year they have had their toddler beds right next to each other. They snuggle and hold hands when they fall asleep. As part of his present, they are getting bunk beds. Last night when I realized that this (unbeknownst to them) would be their last night sleeping like that, I got a little teary and had to pull out the camera. I’m sure they thought I was crazy.
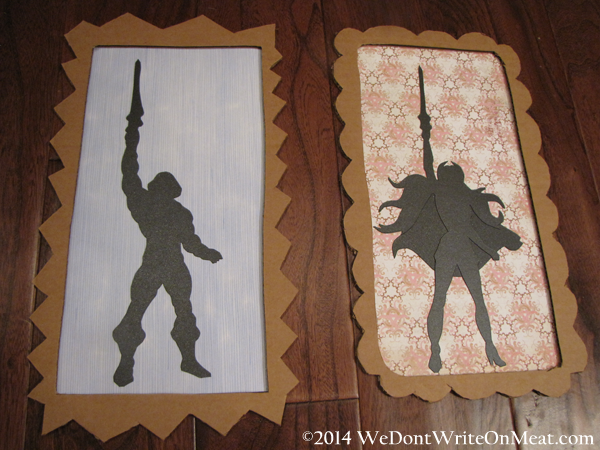
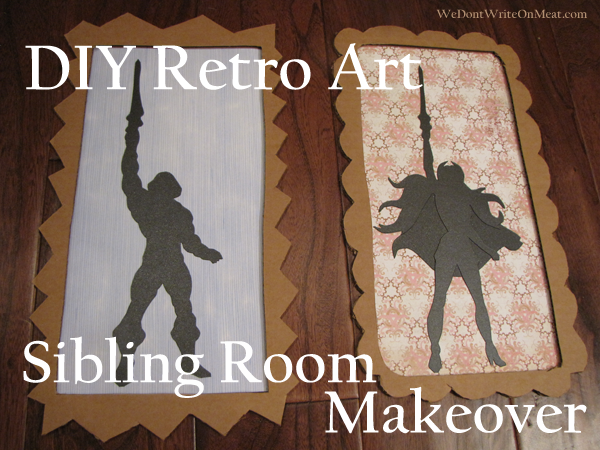
Anyway…as part of this new bunk bed sibling room makeover, I decided to make a little personalized art for their room.
I saw an awesome post recently from Less-Than-Perfect Life of Bliss about a teen who made herself some Disney silhouettes for her room. They are so simple, and so cute. My kids like Disney, but they LOVE He-man and She-ra.
When Edgar turned 2, all of his bottles disappeared overnight and he got his own He-Man toy (from Grandma’s attic). He thought it was a good trade. When Sabrina came along, we started collecting He-man and She-ra DVDs, which are always either in the DVD player or somewhere stacked nearby.
For Christmas, we busted Alex’s ridiculously huge He-man collection out of his parent’s attic (yes, with Castle Greyskull, lots of vehicles, armor, and so so many guys). Also, a good friend donated her She-ra toys from her mom’s attic. It was an AWESOME Christmas gift.
So, when I decided my kid’s new room needed some art, I knew JUST what I wanted to do. This retro brother and sister power duo are just perfect for my kids.
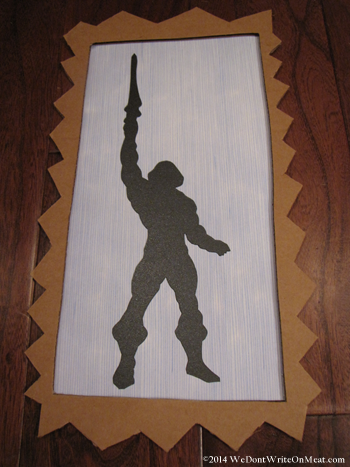
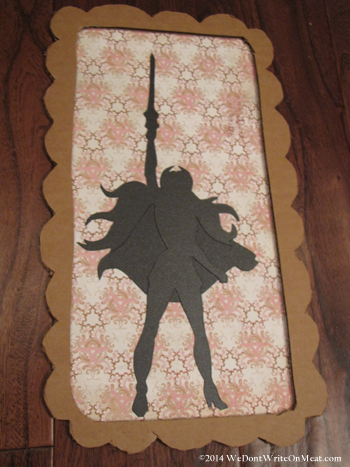
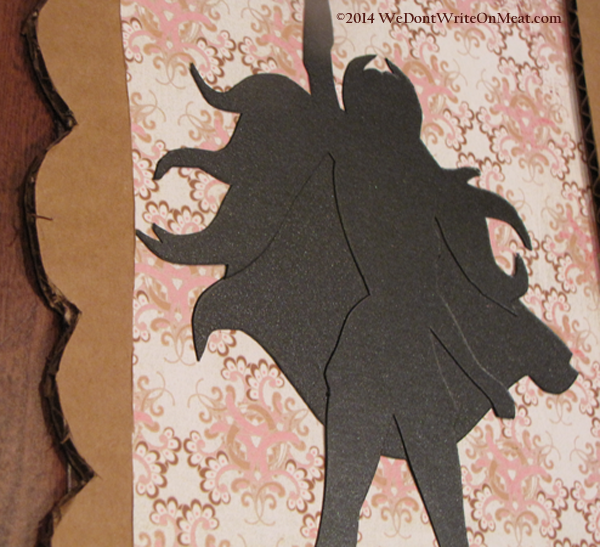
I used online images as a template for the silhouettes (which I cut out of sparkly black card stock). I did the She-ra silhouette in two pieces to make it look like she had a cape, and not a weird amorphous blob body. Then I used some patterned scrapbook paper for the backgrounds.
For the frames, I followed this fun tutorial for these DIY Cardboard Hipster Frames. I love the look with the corrugated cardboard on the sides. (Note: the straight lines in the He-Man frame were way easier to cut than the curvy She-ra frame). You can also cover the cardboard with paper or spray paint it–but I liked the raw cardboard look.
It was super fun and a great addition to their room. I love that it can be done with any of your kid’s favorite characters, even if it isn’t a character that is currently popular and easily found in stores.
So, if you give it a try with your kid’s favorite character, link to your post in the comments! I would love to see what you do with it!

